Tiếng Việt
 简体中文
简体中文 Deutsch
 日本語
日本語 한국어
한국어 ไทย
ไทย Русский
 Français
This article provides an answer‑first technical framework to design, calculate and prepare an EPC budget for a rooftop solar system that sells 100% of its output to a factory/industrial site. It focuses on the formula to convert DC capacity → AC, transformer selection for inverters (e.g. inverter with 800 V DC‑link), the variables that determine the number of substations and kVA sizing, and the documentation and acceptance checklist required by EVN/Circular. [1]
To size and select transformers for a rooftop system selling 100% of its output (example 10,000 kWp, inverter DC‑link 800 V) you need: 1) convert DC capacity (kWp) to realistic AC output using P_AC = kWp × PR × η_inv × (1 − losses) and 2) select substation apparent power S_tr (kVA) using S_tr = P_AC / cosφ, then divide total S_tr by the number of substations (N) according to the distribution layout; the final number of substations/kVA depends on determined P_AC, grid connection voltage, the design cosφ, safety margins and EVN requirements.
This article presents detailed formulas, a list of variables to measure/estimate, and an EPC CAPEX breakout framework you can apply immediately (no fabricated equipment prices; all figures must be verified with vendor quotes and EVN fees).
Who this is for
- Investors/plant technical teams planning to sell all rooftop generation to EVN
- EPC design/construction teams that need a calculation framework and connection checklist
- Procurement/tender consultants preparing preliminary EPC budgets and technical specifications
When to read this
- When preparing a preliminary design for a sell‑to‑grid project
- When you need an initial EPC budget or to draft tender documents
- When preparing grid connection documents and the PPA under Circular/Decision requirements
Legal framework and grid connection procedures for rooftop systems selling to the grid
The legal framework sets conditions for rooftop PV feed‑in pricing, connection up to 35 kV, installation of a bi‑directional meter and signing the Power Purchase Agreement under Circular 18/2020.

Rooftop PV systems selling to EVN must meet connection conditions up to 35 kV, be installed on building roofs and complete bi‑directional meter acceptance before signing the PPA according to Decision 13/2020 and Circular 18/2020. [2][9]
Scope of application includes rooftop PV systems connected to networks with nominal voltage not exceeding 35 kV, with maximum capacity limits as set by relevant regulatory documents. In site surveys, the utility inspects the proposed POI, the substation’s ability to absorb exported power and the operational safety plan.
Typical connection agreement application documents include the main technical and legal items below.
- Technical documents: single‑line diagram (1‑line), connection scheme, inverter and distribution board technical data.
- Legal documents: ownership papers or a valid authorization of the project owner’s representative.
- Operation and acceptance plan: operating procedures, safety measures and post‑installation acceptance schedule.
- Note: EVN may allow certain documents to be supplemented after acceptance per internal guidance; verify this when submitting the application.
The practical connection procedure usually follows: (1) submit the connection agreement application to the utility; (2) perform site survey and agree on connection conditions; (3) system acceptance, install and record the bi‑directional meter reading; (4) sign the PPA or register generation for payment.
Regarding processing times, Circular 18/2020 specifies administrative timelines for application processing and contract signing, with reference to dates around 31/08/2020; however some provisions have partially expired or been amended, so always check consolidated texts before submission.
On metering and payment, the principle is installation of a bi‑directional meter supplied by the utility and locking readings at acceptance; the start of payment follows terms in Decision 13/2020 and the PPA template in Circular 18/2020.
Special cases, such as connecting at low voltage versus medium/transformer levels, require attention to phase limits and total accepted power at the substation; in the field, if the substation cannot absorb the export, the utility will refuse or request a power relief plan.
Interim conclusion: before implementation, conduct a site survey, confirm substation export capability, prepare full technical and legal documentation, and verify the consolidated text of Circular 18/2020 to ensure connection procedures and PPA clauses are applicable.
Formula to convert kWp to realistic AC output and variables to measure
Design P_AC is estimated by the basic formula P_AC = kWp × PR × η_inv × (1 − losses_total), where each term reflects real system losses. Break down loss sources (soiling, mismatch, cabling, clipping, thermal, availability, degradation) and measure field parameters such as irradiance, cell temperature and inverter efficiency across the operating range. For transformer sizing or energy estimates, use the PVout factor published (by EVN) or local meteorological data to adjust expected production.
P_AC for design is commonly calculated as: P_AC = kWp × PR × η_inv × (1 − losses_total). This approach converts nominal kWp to useful AC power by applying system performance and subtracting groups of losses that are relevant for design and acceptance. [8][0]
kWp is the module peak power under STC (1000 W/m², 25°C, AM1.5). Performance Ratio (PR) is the ratio of actual energy yield to nominal energy and aggregates many system and climatic factors; in practice PR is estimated from operational data or by using region PVout values to calculate expected yield.
Inverter efficiency (η_inv) is the DC→AC conversion efficiency at operating power and should be chosen as an average across the typical loading range (e.g. efficiency at 25–75% of P_rated). During site survey measure inverter efficiency at representative load levels and note clipping behavior if DC/AC ratio is too high; clipping directly reduces instantaneous P_AC during strong sun.
Losses grouped as “losses_total” to consider include:
- Soiling (dust and fouling) and cleaning frequency depending on operating environment.
- Mismatch between modules, DC cabling losses and MPPT mismatch.
- Inverter clipping due to oversizing (DC/AC ratio) and transformer/tap change losses.
- AC cabling and distribution system losses.
- Thermal losses due to cell temperature, plus availability/curtailment from downtime.
- Degradation over years (account separately for long‑term simulations).
Thermal losses should be separated: use the module temperature coefficient (°C⁻¹) or NOCT reference to estimate power reduction with cell temperature. In site surveys measure cell temperature at peak and use local meteorological data or PVout values published by EVN to adjust expected yield.
Regarding degradation, in practice projects include an annual percentage in long‑term simulations; typical reference values are around 0.5–1%/year and should be treated separately from base PR when doing life‑cycle simulations. During operations monitoring, tracking soiling and inverter performance updates PR and allows adjusting cleaning schedules or DC/AC ratio if needed.
Key decisions at sizing stage: select PR and η_inv based on field data or regional PVout, determine an acceptable DC/AC ratio based on tolerable clipping, and decide whether to include degradation in equipment sizing or only in long‑term energy analysis. Operational warning: do not fold degradation into base PR if the goal is to size for peak/day performance; perform field surveys to collect irradiance, temperature and soiling data before fixing P_AC for transformer sizing.
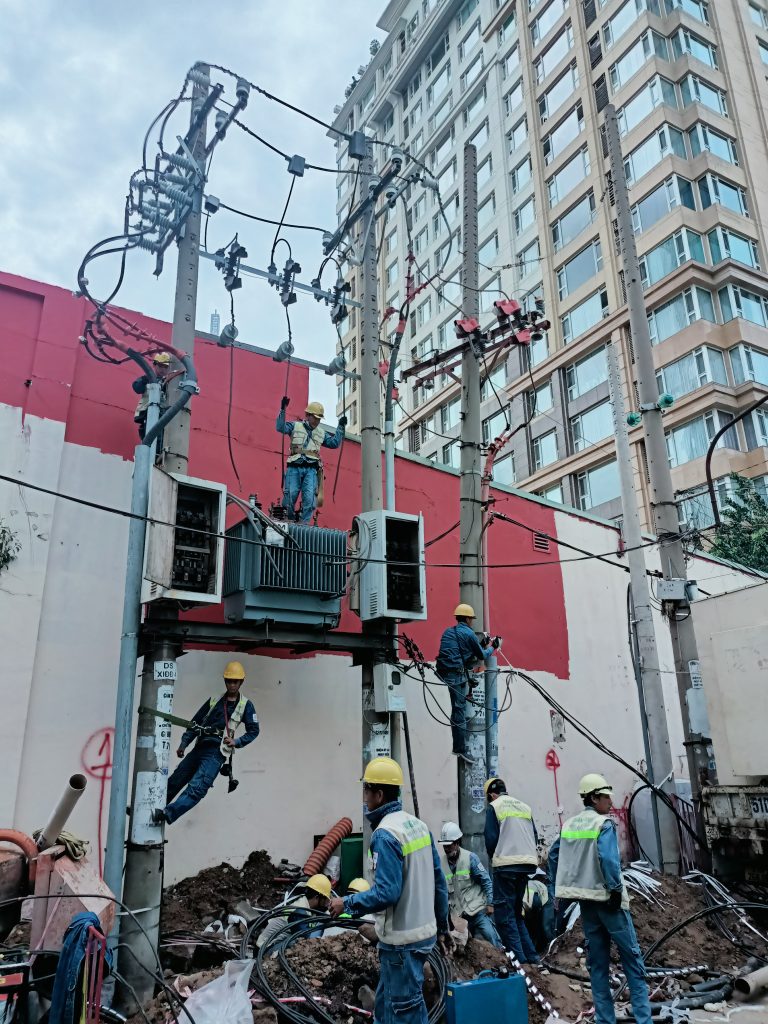
Transformer selection process — formulas, voltage steps and decision criteria
Formula to select apparent power and criteria to choose transformers from inverter AC power, voltage steps, losses and station partitioning for a rooftop system.

Select transformer rating starting from the inverter AC power using S_tr ≈ P_AC / cosφ_design; this is the basic formula to determine trafo kVA. [1][10]
When calculating P_AC, start with DC source power multiplied by inverter efficiency (P_AC = P_DC × η_inv) and then subtract cable losses, power factor correction losses and inverter limits. In site surveys measure cable lengths, inverter limits and harmonic levels to establish realistic losses before choosing S_tr.
In the field note that inverter output 800 V usually refers to the DC‑link voltage before the inverter; do not use 800 V as transformer winding voltage. For transformers use the AC rated voltage and the AC power after the inverter, and apply a safety factor (typically 1.05–1.25) for temporary overload margins.
Choosing medium voltage or staying LV depends on substation power, distance to the grid and connection limits; typically when substation rating exceeds ~500–1000 kVA consider medium voltage (≥6–10 kV). Design must analyze transformer no‑load and copper losses (P0 and Pcu) and percentage impedance Z% to assess voltage drop, short‑circuit capability and harmonic compatibility.
- Field survey criteria: total AC power at POI, cable lengths, point connection limits, existing harmonic levels.
- Pros/cons of distributed substations: many small substations reduce MV/LV losses but increase number of connection points; central substations reduce transformer count but require larger transformers and possibly OLTC for voltage regulation.
- Maintenance checks: winding temperature, tap position, peak current and harmonic filtering to prevent transformer overheating.
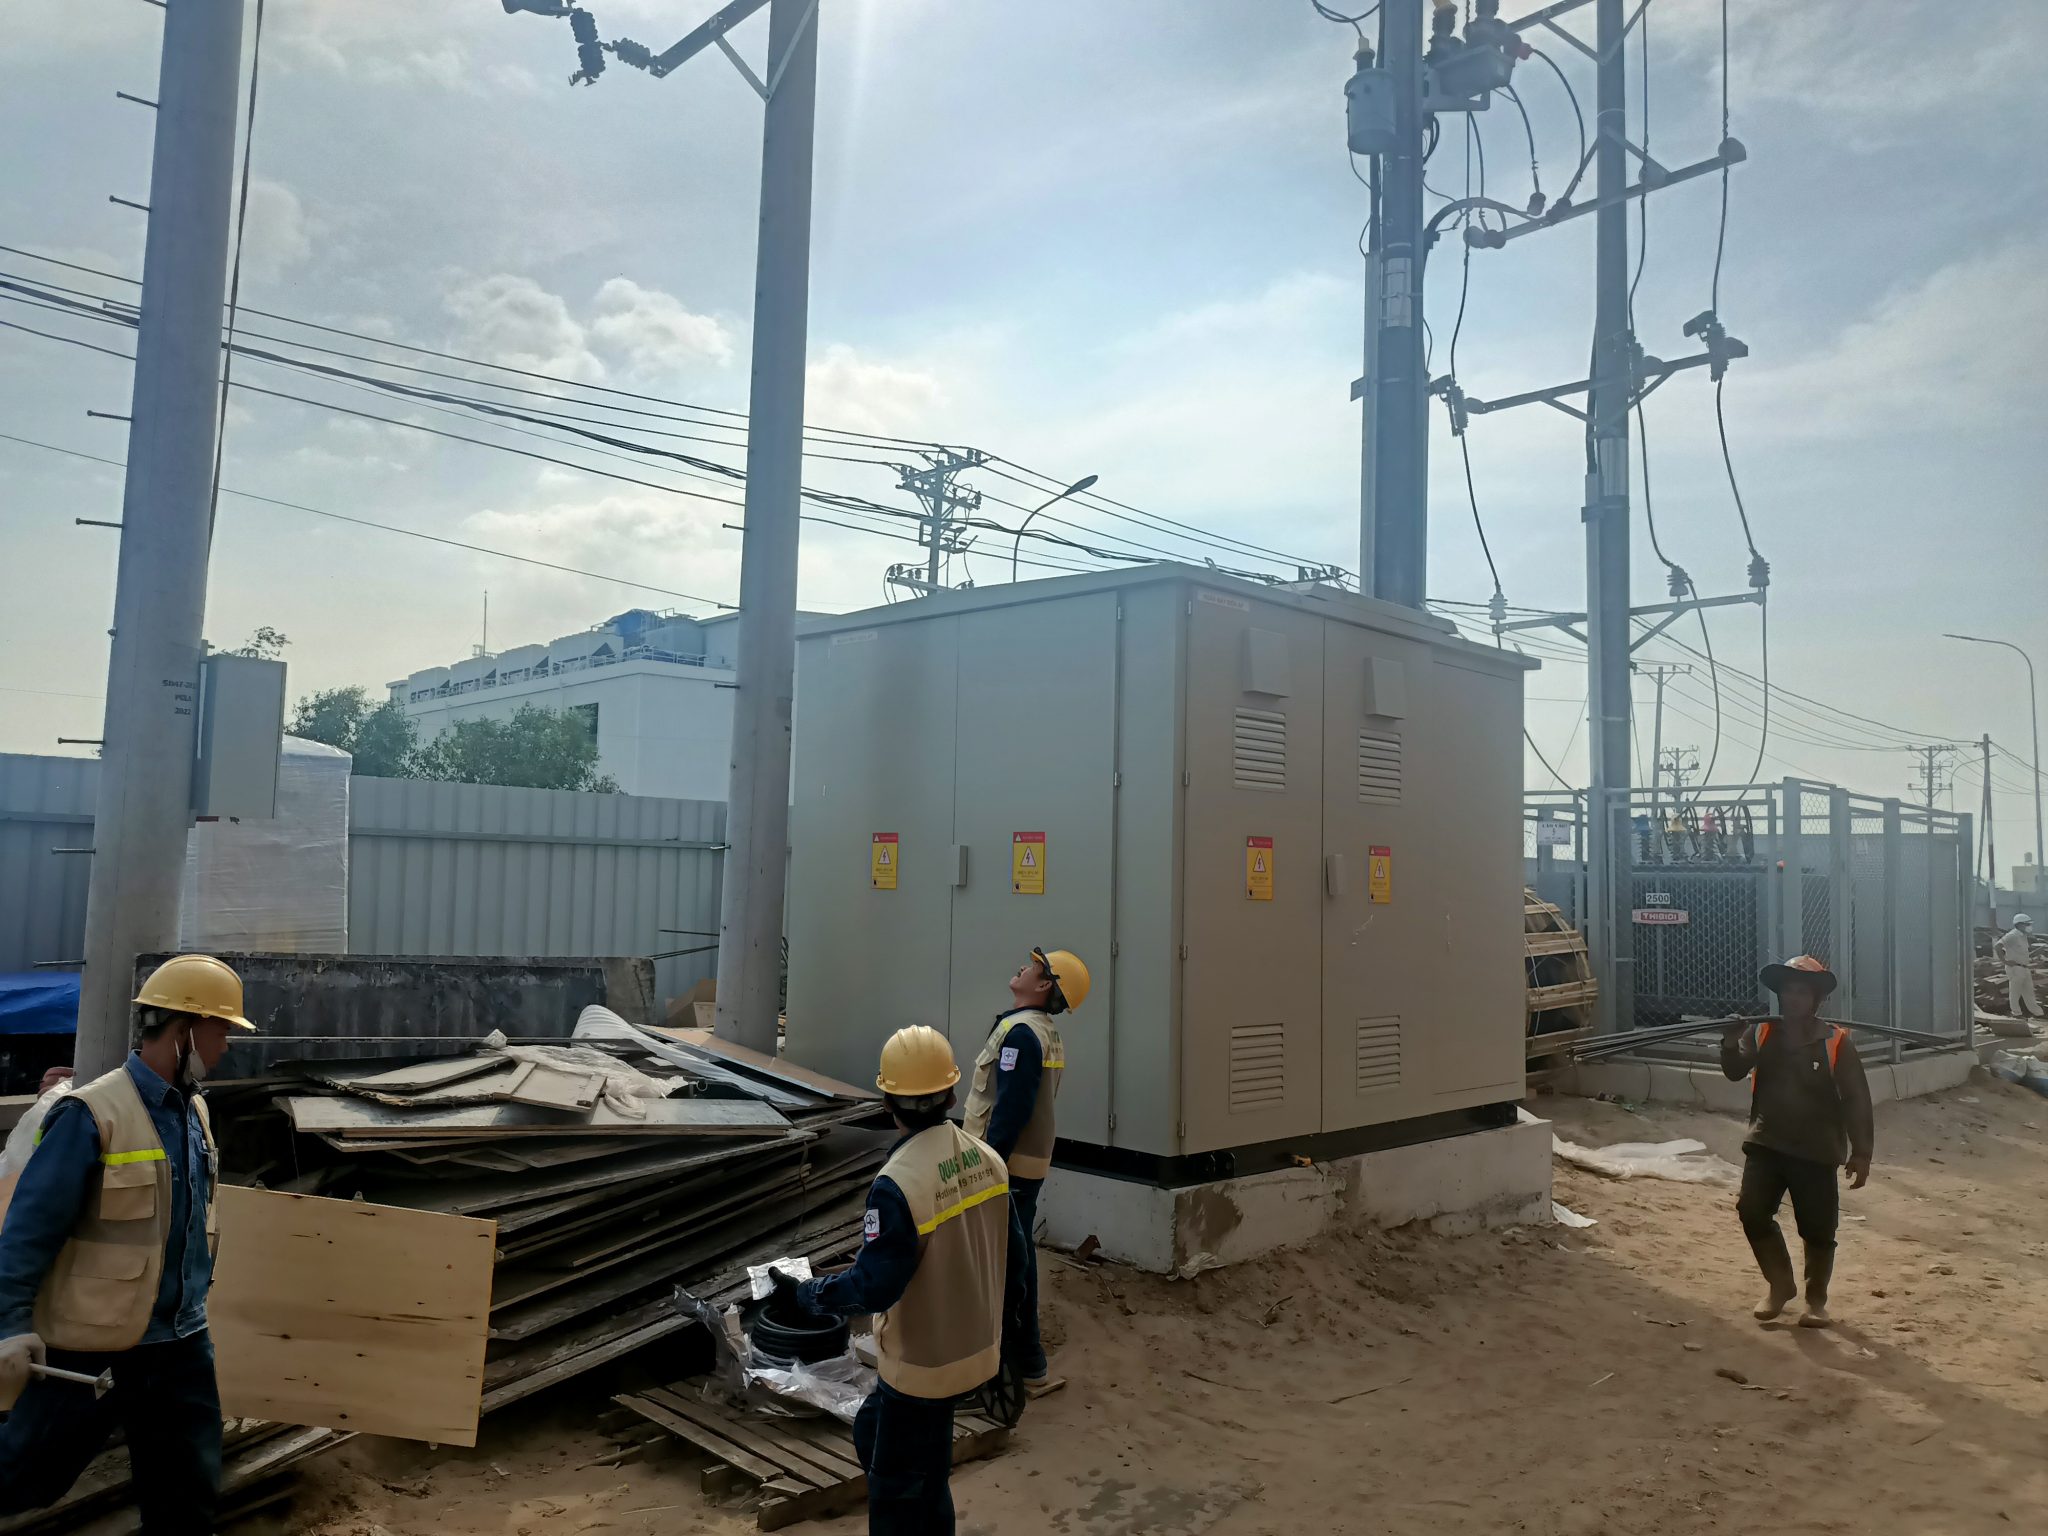
For a 10 MWp rooftop scenario you can distribute many distribution substations (e.g. 10–40 substations of 250–1,000 kVA) or a few central substations (1–3 substations 2,500–4,000 kVA) depending on grid structure and site layout. Final decision requires site survey to measure real power, EVN connection limits and harmonic assessment before selecting transformer type, Z% and whether OLTC is needed.
EPC budget framework for a 10,000 kWp rooftop: cost components and influencing variables
The EPC budget framework for a 10,000 kWp rooftop should clearly separate CAPEX/OPEX, list major cost groups and the site variables required to break down costs.
The EPC budget framework for a 10,000 kWp rooftop must separate CAPEX and OPEX and identify technical variables to survey on site for estimation. [1][13]
Main CAPEX groups and major construction items include:
- PV modules — largely influenced by $/Wp and module efficiency.
- Inverters and AC/DC cabinets — selected by kW/unit, warranty period and efficiency at local operating temperatures.
- Mounting system, anchors/foundations, wind bracing — roof type and structural characteristics determine foundation work and materials.
- Transformers/substations, bi‑directional meters and control equipment — depend on step‑up needs and connection voltage.
- AC/DC cables, junction accessories, surge protection and grounding.
- Transport, unloading and rooftop handling (safe working at height).
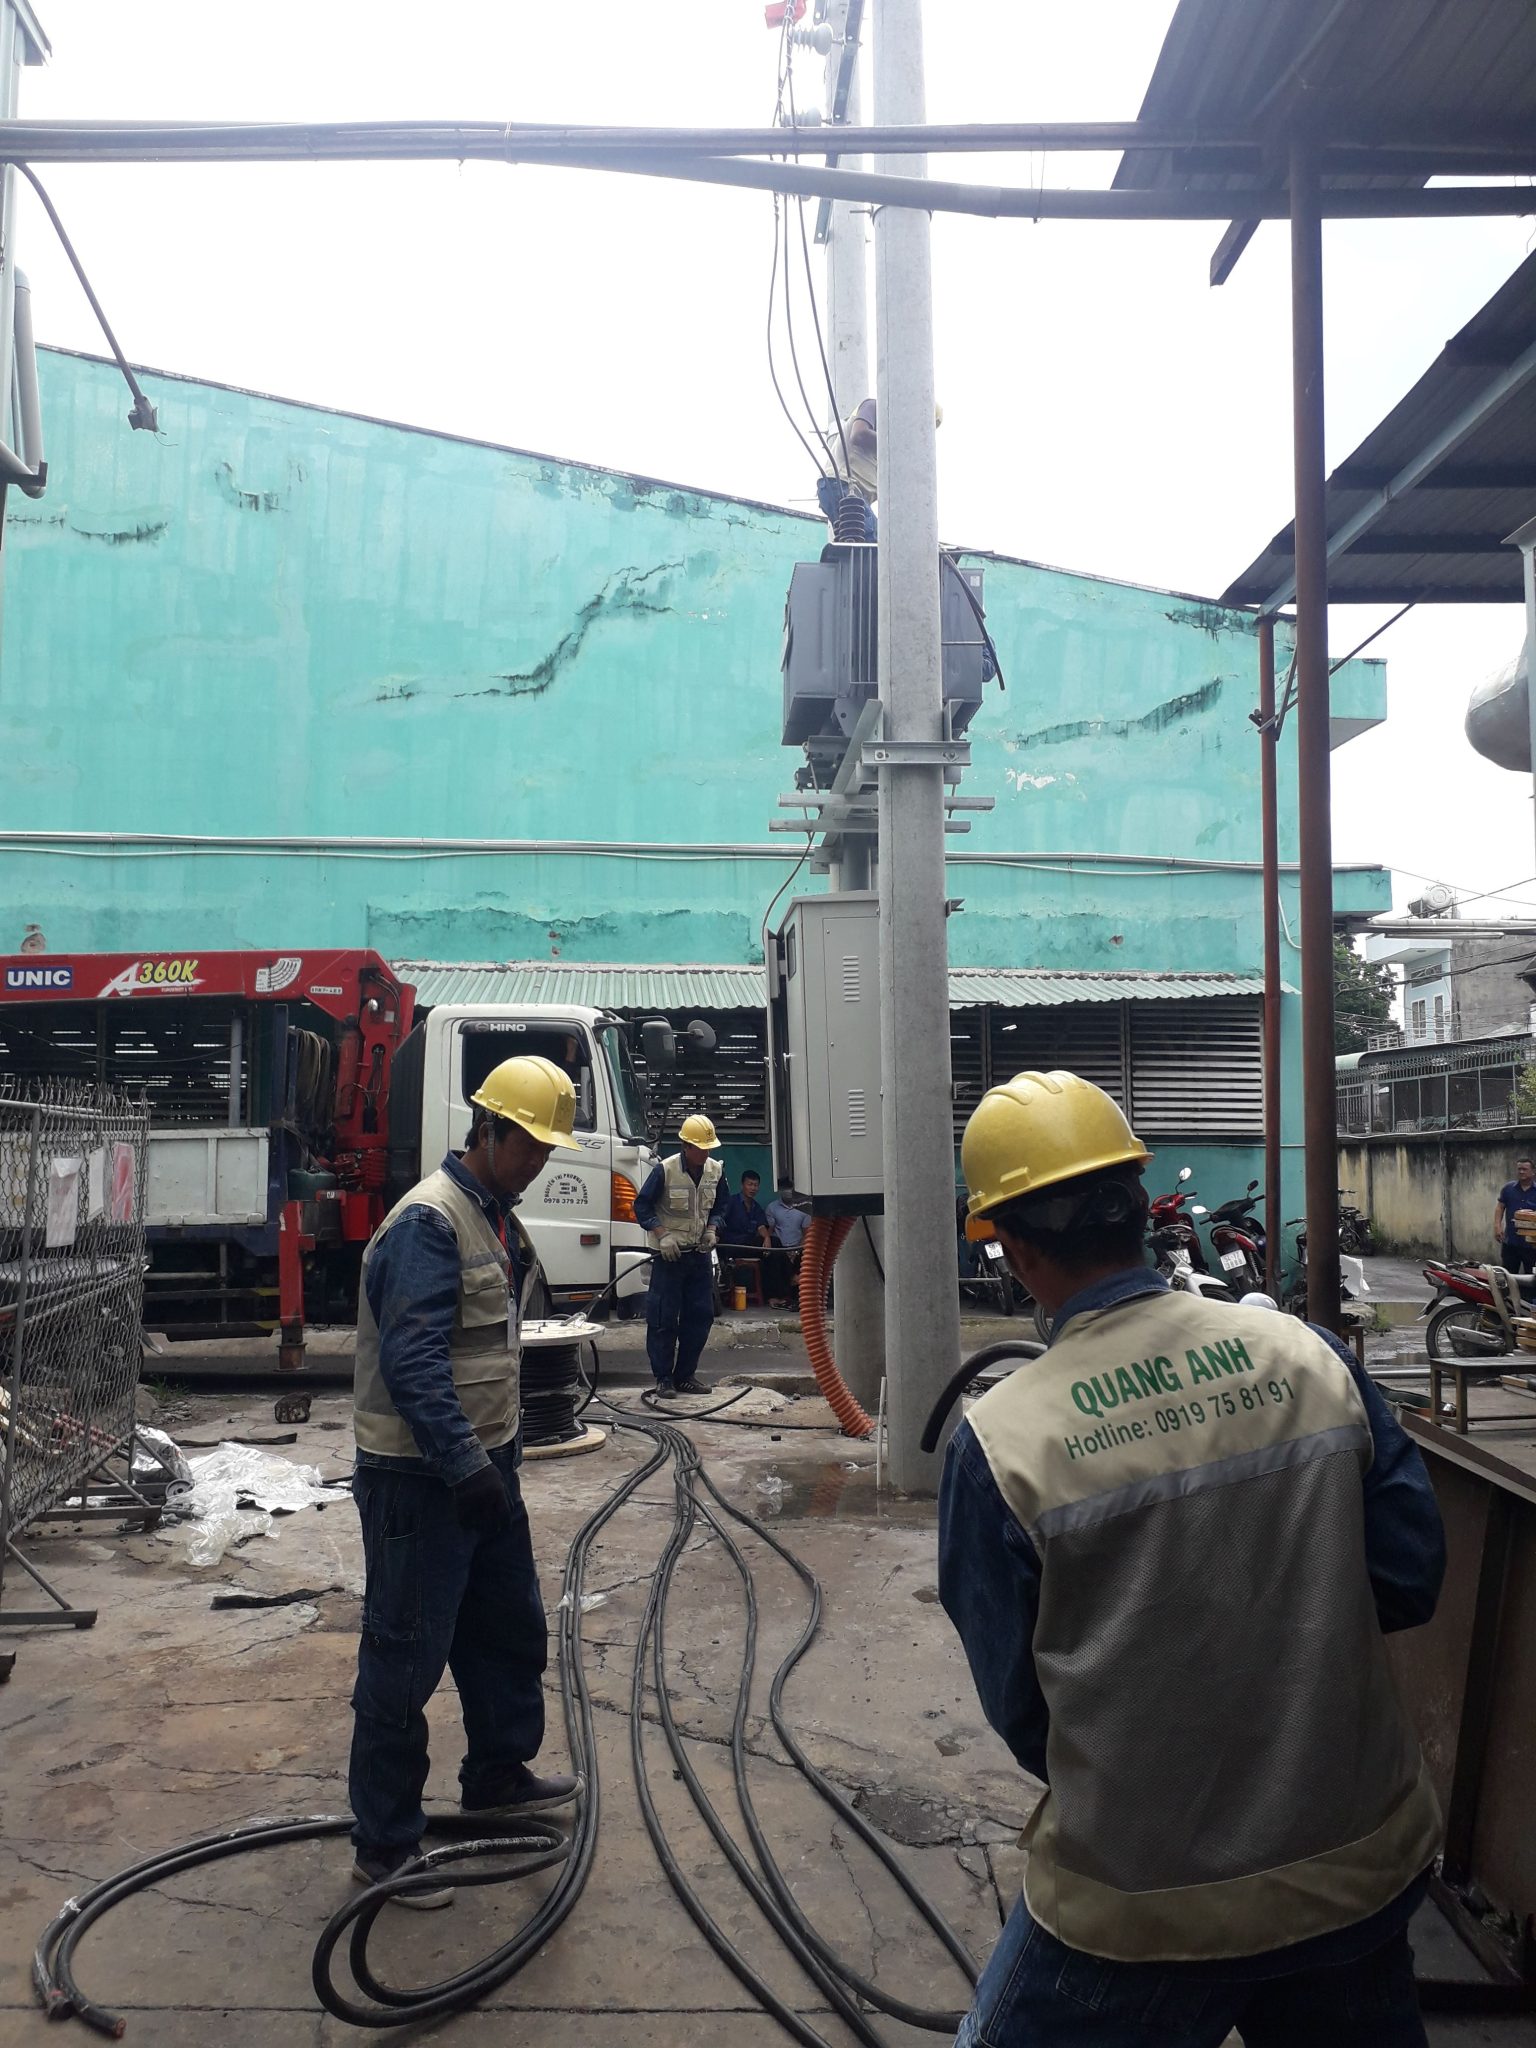
Construction and procedural costs should be separated into: mechanical installation, electrical works, testing & commissioning, as‑built documentation, inspection and HSE. In site surveys measure distance to the substation/POI to estimate cable length and potential need to upgrade the utility substation, as this is a major cost driver.
| Cost group | Representative items | Notes |
|---|---|---|
| Major equipment | Modules, inverters, transformers, AC cabinets | Break down per vendor quote; distinguish FOB/CIF for imports |
| Construction & installation | Mounting, foundations, cabling, labor, HSE | Survey the roof to determine foundation method and labor quantities |
| Permitting & acceptance | EVN connection paperwork, fire safety if required, acceptance | Time and fees depend on local EVN procedures |
| Contingency | Spare equipment, price escalation, legal risk | Typically separate 5–10% of equipment for technical contingency |
Differentiate technical and financial contingencies: equipment contingency (usually 5–10%), contingency for design changes and legal risks, and a buffer for material price fluctuations. Annual OPEX should list O&M, insurance, remote monitoring and planned replacements such as inverter replacement after 10–15 years or sensor/meter replacement when required.
Major cost variables to verify on site include: module price ($/Wp), inverter price per kW/unit, actual system performance ratio, roof type and foundation scope, transformer/substation needs, and cable distance to the POI. For EVN connection clarify the substation’s ability to absorb exported power, connection voltage level and the potential cost of upgrading the substation or lines.
Quotation breakup principle: separate equipment price (FOB/CIF), transport & handling, installation & labor, HSE costs, legal/permit fees, taxes and financing costs. During site survey collect: official vendor quotes for major equipment, local labor rates for rooftop installation, and actual foundation/mounting proposals to fix quantities.
Decision warning: you cannot finalise a reliable investment cost without roof structure survey and confirmation of EVN connection capability; require detailed vendor quotations and site survey minutes to avoid large estimation errors. Next step is compiling equipment quotes and site survey results to produce an EPC phased cost breakdown and estimate investment per VND/Wp.
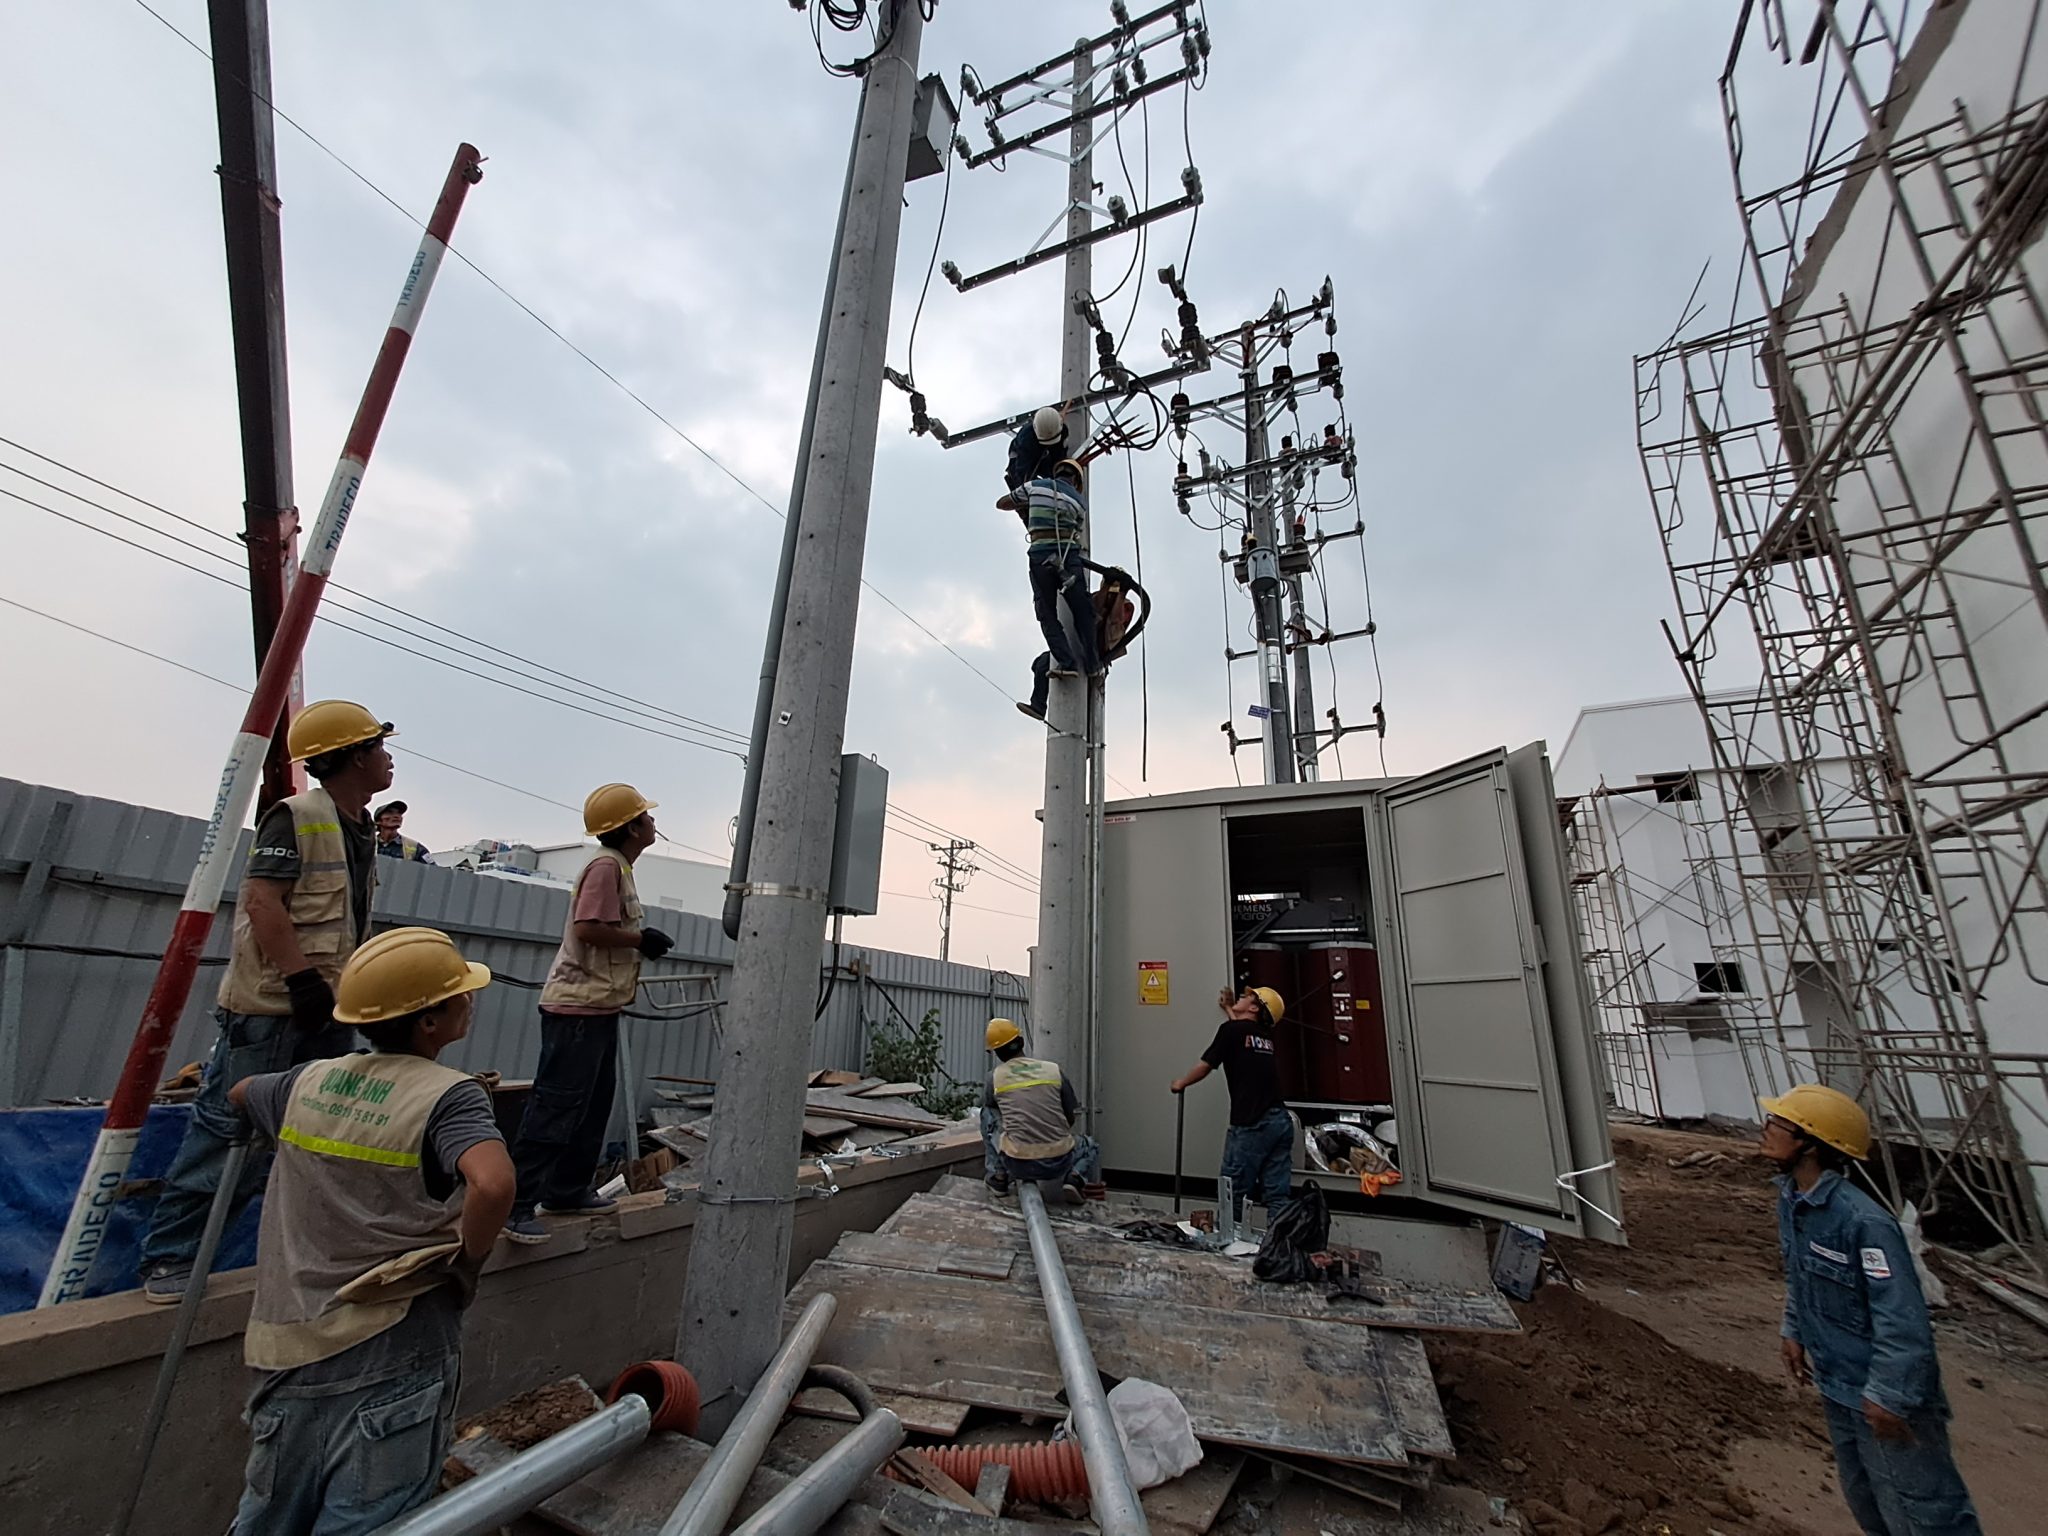
On‑site pre‑energization procedure: commissioning checklist & EVN paperwork
Pre‑energization acceptance checklist for rooftop sell‑to‑grid: commissioning tests, protection coordination, metering and documents to submit to EVN.
Before energization complete the acceptance test pack to confirm electrical safety, grid compatibility and metering readiness before coordinating energization with EVN. [10][12]
Technically, standard commissioning tests include insulation and grounding checks, load tests, inverter functional tests and protection function verification. During maintenance or site survey pay special attention to inverter functions: power injection, cosφ/reactive power control (Q), power limiting and anti‑islanding; check DC/AC switching and emergency isolation. Also perform protection coordination tests, set relay timing and verify signals compatible with the distribution substation or distribution dispatch.
- Check rooftop working safety: anchor points, temporary guardrails, anti‑slip measures and rescue plan.
- Measure insulation and grounding: earth resistance and insulation tests at inverters and DC/AC cables.
- Inverter operation tests: power injection, power limit, Q control, anti‑islanding verification.
- Load testing and observe voltage fluctuation, flicker and power factor under real operating conditions.
- Metering check and sealing: meter location must be adjacent to POI, seals/passwords per metering regulations.
- Protection coordination testing and relay tests with the utility, adjust timing and trip thresholds.
Below are the basic documents to prepare and submit to the utility/EVN prior to acceptance and energization.
| Document | Notes |
|---|---|
| Basic design and single‑line diagram | Define POI and protection scheme according to the distribution substation condition. |
| As‑built drawings | Record module layout, cabling, inverters and meter locations after installation. |
| Internal acceptance report and test reports | List tests performed, results and any anomalies to be rectified. |
| Relay test report and protection coordination | Document adjustments to timing, thresholds and results of coordination with the distribution substation. |
| Connection approval / Circular 18 documentation | Required to sign the PPA template and for dispatch connection when applicable. |
Classification by capacity (typically <100 kW, 100 kW–1 MW, ≥1 MW) affects acceptance, metering and possible dispatch connection; field survey is needed to determine the applicable group. During on‑site acceptance the energization minutes must list tests performed, results, defects/remedial actions and safe operation conditions. Operational cautions: ensure fire safety arrangements for DC/AC areas and inverter/BESS zones (if present), and verify meter sealing before handing over to the utility.
Light conclusion: after completing tests and compiling documents, register acceptance with the utility, perform on‑site acceptance together with the power company/utility and finalise the acceptance minutes so EVN can proceed with energization and, if conditions are met, sign the PPA template under Circular 18/2020.
To obtain final outputs (number of substations, kVA and detailed EPC budget) perform a site survey, obtain load profiles, expected system performance and vendor quotes — then apply the formulas in the relevant chapters to derive verifiable figures. Next step is preliminary design and direct coordination with EVN to determine the POI and connection requirements.
Frequently asked questions
How to convert DC capacity (kWp) to AC design power for transformer sizing?
P_AC is typically calculated by the rule: P_AC = kWp × PR × η_inv × (1 − losses). The principle is converting STC DC power to AC using inverter efficiency and subtracting losses. Required data: kWp, Performance Ratio, inverter efficiency across the load range, cable losses, clipping, soiling, degradation and local irradiance data.
Is inverter output 800 V DC or AC and how does it affect transformer selection?
800 V typically refers to the DC‑link before the inverter; when selecting transformers base decisions on AC power and AC rated voltage after the inverter. Rule: use P_AC, AC rated voltage, cosφ and harmonic characteristics to select the transformer and the POI voltage step. Need inverter AC‑rated voltage, rated power, harmonic specs and protection requirements.
Does Decision 13/2020 specify capacity limits for rooftop feed‑in prices?
No numerical value is given here — consult Decision 13/2020 and Circular 18/2020 and EVN guidance to determine applicable thresholds. Principle: check roof location, connection voltage and acceptance documentation; review original texts and EVN notices to confirm limits.
What are the main cost items in an EPC contract and which variables have the largest impact?
An EPC contract typically includes: modules, inverters, mounting, transformers/substations, AC/DC cabinets, cables, foundations/as‑built, labor, EVN connection fees, testing and contingency. Major influencing variables: market equipment prices, roof complexity, distance to POI, substation upgrades and contingency rate; obtain vendor quotes and site survey to break down costs.
What documents are required for EVN acceptance and energization?
Basic documents include: design drawings, single‑line diagram, survey minutes, relay and commissioning test reports, internal acceptance minutes, safety/grounding certificates, bi‑directional meter information, owner legal documents and PPA paperwork. Verify additional specific requirements with the utility/EVN under Circular 18 before submission.
Practical steps from survey to preliminary EPC budget
- 1. Roof and baseline survey: available area, orientation/slope, roof load, structure, distance to POI; obtain the plant load profile.
- 2. Collect irradiance data and select PV model: use local irradiance, choose PR and degradation factor to estimate average/annual P_AC.
- 3. Define inverter parameters: AC power per inverter, output voltage (clarify whether 800 V is DC link or AC), number of inverters, connection topology (string/central).
- 4. Calculate design P_AC using P_AC = kWp × PR × η_inv (document variables and assumptions).
- 5. Choose design cosφ and compute apparent power S_total = P_AC / cosφ; apply S_tr = S_total / N_tr to test N_tr options (number of substations) and select transformers close to those values (include safety factor).
- 6. Cross‑check connection voltage and EVN requirements: determine POI, whether MV or LV transformer is needed, anti‑reverse protection, relays, protection and tests per EVN/Circular.
- 7. Prepare a preliminary CAPEX breakup by component: modules, inverters, transformers, AC/DC cabinets, cables, mounts/foundations, labor, EVN connection fees, legal fees, contingency; list items requiring vendor quotes.
Contact QuangAnhcons technical team for support with site survey, preliminary design and EPC cost breakdown tailored to your project.
References (18)
All technical recommendations and procedures in this article should be cross‑referenced to official sources: legal documents (Decisions, Circulars), EVN guidance/forms and announcements, and international standards (IEC/ISO/IEEE) where applicable. Every numeric value, processing time or acceptance requirement in the final deliverable must include a link or citation to the original source; when no official quantitative source exists the article only provides frameworks/variables and recommended verification via vendor quotes and field data.
-
EVN advisory letter to the Ministry of Industry and Trade on rooftop vs ground‑mounted PV connection issues
Standard/regulatory documents used to cross‑check technical requirements cited in the article.
-
Press information on rooftop PV development after 31/12/2020
Official source used to verify technical or regulatory items referenced.
-
Ministry of Industry and Trade issues guidance on rooftop PV development
Official source used to verify technical or regulatory items referenced.
-
Ministry of Industry and Trade guidance on rooftop PV
Official source to verify referenced technical/regulatory items.
-
Draft support policy for household rooftop PV
Official source to verify referenced technical/regulatory items.
-
Ministry to soon resolve issues for rooftop PV
Official source to verify referenced technical/regulatory items.
-
EVN support to rooftop PV investors
Official source to verify referenced technical/regulatory items.
-
EVNHCMC promotes solutions to accelerate rooftop PV
Official source to verify referenced technical/regulatory items.
-
EVN training programme launch for rooftop PV instructors
Official source to verify referenced technical/regulatory items.
-
Reasons EVN proposed rooftop PV installation to require registration
Official source to verify referenced technical/regulatory items.
-
Official guidance from EVNSPC
Official documents from EVNSPC used for verification.
-
EVN continues to advise the Ministry on rooftop PV issues
Official source to verify referenced technical/regulatory items.
-
EVNSPC official guidance
Official documents from EVNSPC used for verification.
-
EVNSPC customer service document
Official documents from EVNSPC used for verification.
-
EVNSPC guidance document
Official documents from EVNSPC used for verification.
-
Rooftop PV guidance V14
Official guidance used to verify technical/regulatory items.
-
EVNSPC article on efficient electricity use and renewable solutions
Official documents from EVNSPC used for verification.